Your ASV Scan Came Back Failing: How to Read the Report and Prioritise What to Fix
A failing ASV scan report is dense, technical, and easy to misread. Here's how to work through it: what CVSS scores actually mean for your compliance deadline, which findings you must fix, which you can dispute, and how to get to a passing scan as quickly as possible.
Receiving a failing ASV scan report feels worse than it is, and fixing it is usually more straightforward than the document makes it look. The problem is that ASV reports are written in the language of professional security operations: CVSS base scores, CVE reference numbers, affected components, port and protocol identifiers. For a merchant who handles payments but does not run a security team, reading one for the first time is bewildering.
The underlying question, though, is simple: what do I actually have to fix to make this scan pass?
This guide answers that question step by step.
What an ASV scan is actually doing
Before reading the report, it helps to understand what the scanner did.
An Approved Scanning Vendor (ASV) runs automated external network scans against the IP addresses and domain names you register as your cardholder data environment (CDE). It is probing from outside your network, the way a criminal would, checking for services that are exposed, software versions with known vulnerabilities, open ports that should be closed, and configuration weaknesses.
Crucially, the scanner has no knowledge of your internal configuration. It sees your external surface exactly as a stranger on the internet would. This is why some findings turn out to be false positives: the scanner sees something that looks like a vulnerability based on what a service announces about itself, but the actual risk may not exist in your specific setup.
The structure of a failing report
A standard ASV report contains several sections. The ones that matter for remediation are:
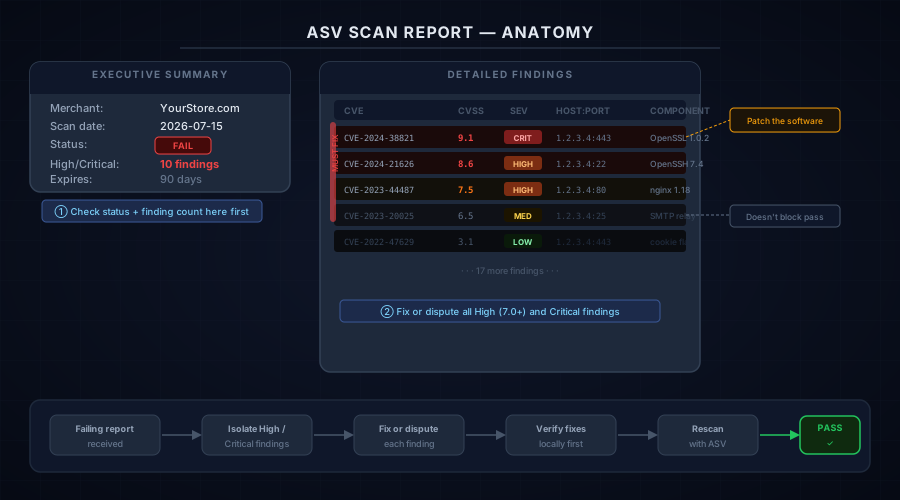
Executive Summary — a top-level pass/fail verdict and a count of findings by severity. This is where you look first. If it says FAIL, the details are in the findings below.
Detailed Findings — a table or list of individual vulnerabilities. Each entry has:
- A CVE identifier (Common Vulnerabilities and Exposures), which is a standardised reference number for a specific known vulnerability
- A CVSS base score (Common Vulnerability Scoring System), a number from 0 to 10 rating the severity of the vulnerability in general
- An ASV severity rating, which is how your specific ASV classifies it for PCI purposes — this may differ slightly from the raw CVSS score
- The affected host and port, telling you exactly which IP address or domain, and which network service, triggered the finding
- A description of the vulnerability and its potential impact
- Remediation guidance, often a suggested fix or patch version
Attestation section — the formal document that your ASV signs. You need a signed attestation with a passing result to submit to your acquirer.
Reading the CVSS score
The CVSS score is the number that determines whether a finding blocks your scan.
The scale runs from 0 to 10:
| CVSS range | Severity | PCI impact |
|---|---|---|
| 9.0–10.0 | Critical | Must fix to pass |
| 7.0–8.9 | High | Must fix to pass |
| 4.0–6.9 | Medium | Informational — does not block pass |
| 0.1–3.9 | Low | Informational — does not block pass |
For PCI DSS purposes, only High and Critical findings (CVSS 7.0 and above) must be resolved for a scan to receive a passing status. Medium and Low findings appear in the report but do not themselves cause a failure.
Your ASV may have their own severity classifications that differ slightly from raw CVSS scores. Always check how your ASV has marked each finding (their severity rating, not just the raw CVSS number) to understand what is actually blocking your pass.
The most common reasons ASV scans fail
Knowing the typical culprits helps you orient before diving into the details.
Outdated software versions. The scanner identifies that a service (a web server, a mail server, an SSL library, a control panel) is running a version with known public CVEs. This is the most common cause of high-severity findings. The fix is straightforward: update the software.
Deprecated TLS/SSL configurations. Sites still offering TLS 1.0 or TLS 1.1, or using weak cipher suites, will receive findings. Modern PCI requirements mandate TLS 1.2 or higher with strong ciphers only.
Exposed administrative interfaces. Control panels, SSH ports, database management interfaces, and admin panels accessible on public IPs generate findings. The expected configuration is that these are either firewalled off entirely or restricted to specific IP ranges.
Open ports that should be closed. Services running on ports that have no business being publicly accessible — SMTP relays, telnet, older FTP configurations — generate findings regardless of whether they represent an active risk in your setup.
Self-signed or expired certificates. Outdated or improperly configured TLS certificates trigger findings, particularly if they use weak algorithms.
Working through the report: a practical order
When you open a failing report, work through it in this sequence:
1. Identify which findings are High or Critical. Ignore everything below CVSS 7.0 for now. Your goal is to get the scan to pass, and only High/Critical findings block that. The lower-severity items are useful to address eventually but are not your immediate problem.
2. Group by host and service. If you have ten findings on a single IP address running a specific web server, they likely all resolve with a single software update. Grouping prevents you from treating each CVE as a separate work item when they share a root cause.
3. Identify what you control vs. what your provider controls. If your storefront is hosted on a managed platform or your infrastructure runs on a cloud provider, some of the exposed services may belong to them, not you. A finding against a shared hosting IP that your provider manages is typically your provider's responsibility to patch, and you would dispute it as not applicable to your specific site.
4. For findings you control, plan the fix. Most high-severity findings have clear remediation guidance in the report itself. Software update, TLS version upgrade, firewall rule change, or port closure. These are operational changes, not security research projects.
5. For findings you do not control or believe are wrong, plan a dispute. The dispute process is formal but achievable. See our guide to disputing ASV findings for the full process.
Do not rescan until you have addressed the blocking findings. A rescan costs time and, depending on your ASV, may cost money. Running a rescan against the same unpatched surface just produces the same failing report.
What "not applicable" looks like in practice
Suppose your ASV scan flags a vulnerability in an FTP service on port 21. You do not run an FTP server. What the scanner is seeing is likely a response from your hosting provider's shared infrastructure, not a service you operate.
Or the scanner flags an outdated version of OpenSSH. You are on a managed hosting platform and do not have access to the operating system to update system packages.
In both cases, you do not own the finding. The right response is to dispute it with evidence: a screenshot of your control panel showing you have no FTP service configured, a statement from your hosting provider confirming they manage OS patching, or documentation showing the flagged IP belongs to shared infrastructure.
The scanner cannot tell the difference between "you run this service" and "your host's shared infrastructure runs this service and you happen to be on the same IP range." That distinction is exactly what the dispute process exists to clarify.
Getting to a passing scan
Once you have remediated the fixable findings and prepared documentation for any disputes, the process is:
- Apply fixes — patch software, update TLS configuration, close unnecessary ports, restrict admin interfaces
- Verify locally — confirm the changes are live before spending a rescan
- Submit disputes — send your dispute documentation to your ASV for any findings you are challenging
- Rescan — run the next scan (your ASV will have a process for this)
- Review results — if disputes were accepted and fixes applied, the scan should now show High/Critical count of zero
Our free Webpage Security Checker checks a subset of the same indicators as an ASV scan — TLS configuration, security headers, and script inventory — and can give you a quick read on where your surface stands before you run a full ASV scan. It won't replicate the full network scan, but it surfaces the most common payment-page findings quickly.
If you receive a failing report and are not sure how to interpret or act on it, reach out to us. We work through ASV reports with merchants regularly, and the most common outcome is that the actual remediation list is shorter than the report initially makes it appear.
Technical Overview
Next steps
Subscribe to the Newsletter
PCI compliance guides and ecommerce threat intelligence, straight to your inbox.
No spam, unsubscribe anytime. We handle your address as described in our privacy policy.
Related Articles
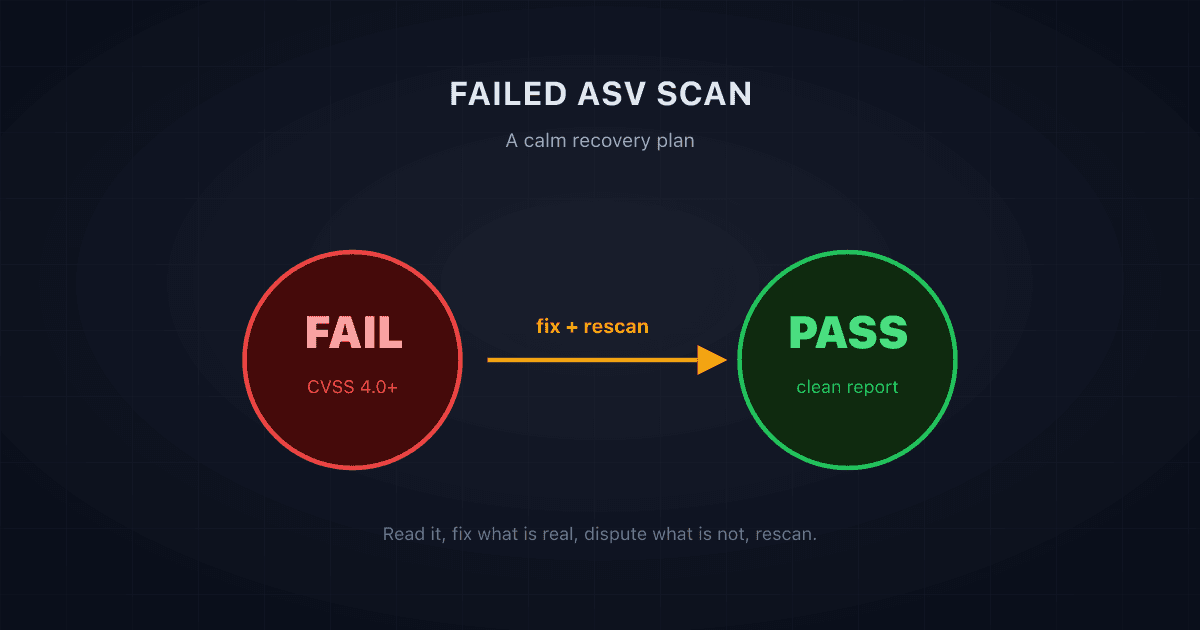
Failed Your ASV Scan? A Calm, Step-by-Step Recovery Plan
A failed ASV scan is common and fixable. Here is a calm, step-by-step recovery plan: what a failing result means, what to fix first, and how to rescan to a pass.
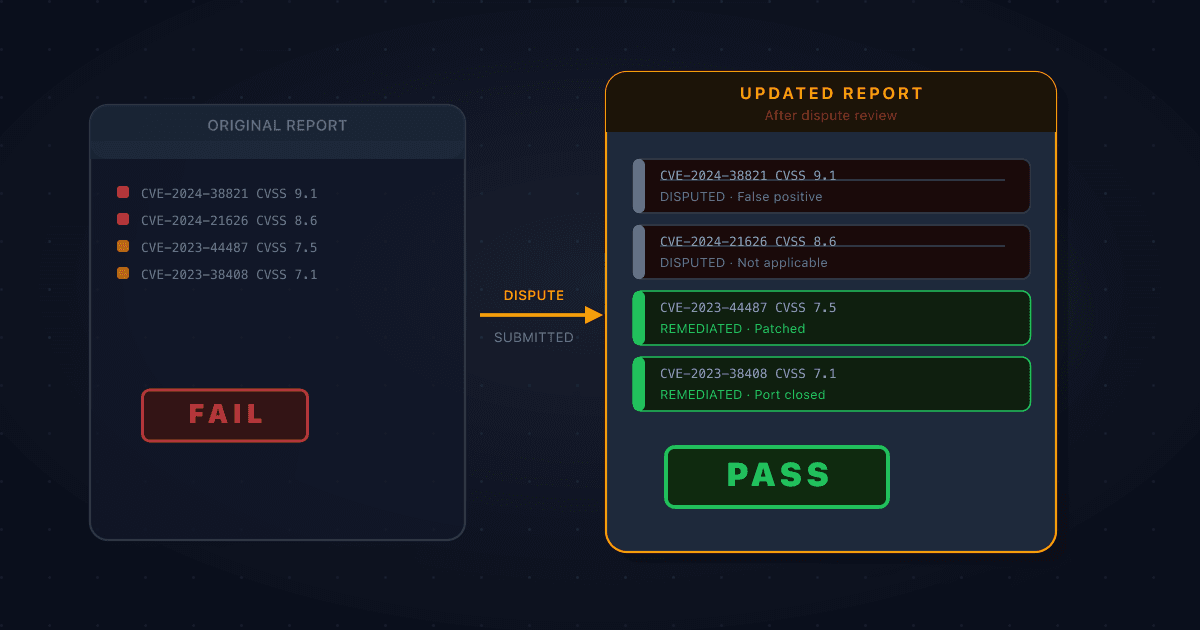
How to Dispute a False Positive on Your ASV Scan Report
Not every finding on a failing ASV scan report is something you caused or can fix. When a vulnerability is misidentified, doesn't apply to your environment, or is mitigated by something the scanner can't see, you can formally dispute it. Here's how the process works and what evidence you need.
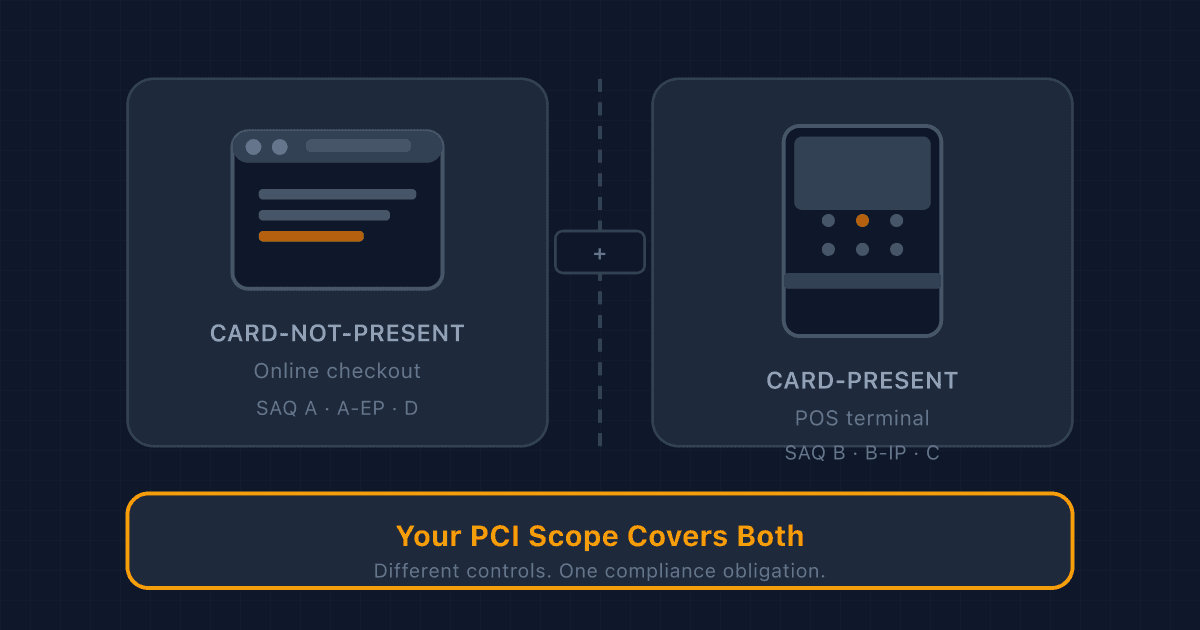
Adding a POS Terminal to Your Online Store? Here's What Changes for PCI Compliance
Card-present and card-not-present transactions fall under different PCI rules. If you sell both online and in person, here's what changes: SAQ type, network segmentation, physical device inspection, and who handles what.